
This guide provides simple, step-by-step instructions to help you install and run your Node.js application on a Plesk server. Follow these steps carefully to get your application up and running.
Step 1: Check Requirements
- Before you begin, make sure you have the following:
- Access to your Plesk control panel (username and password).
- The files for your Node.js application.
- The version of Node.js required for your application.
Step 2: Set Up Your Domain or Subdomain
- Log in to your Plesk control panel.
- Go to Websites & Domains and click Add Domain or Add Subdomain depending on your need.
- Enter the domain name (or subdomain name) and set the document root / Project directory for your application files.
Step 3: Enable Node.js
- In Websites & Domains , find the domain or subdomain you created.
- Click on the Node.js option in Dashboard window. Check Get Started window if you cannot find Node.js option.
.png)
- Turn on Node.js by enabling the feature.
.png)
- Choose the correct Node.js version for your application.
.png)
Step 4: Upload Your Application Files
- Go to File Manager in Plesk.
.png)
- Upload all your application files to the folder set as the document root.
.png)
Tip: If your application is hosted on GitHub, use the Git option in Plesk to clone it directly.
Step 5: Install Dependencies
- Open the Node.js settings for your domain or subdomain.
- Click the NPM Install button to automatically download and install all required dependencies.
.png)
Step 6: Application Location
- Specify the location of your application files.
(For example, if your application file app.js is located in the httpdocs directory, select /httpdocs as the location.)
.png)
Step 7: Configure the Application
- Specify the file that starts your application (e.g., app.js or server.js) in the Application Startup File field.
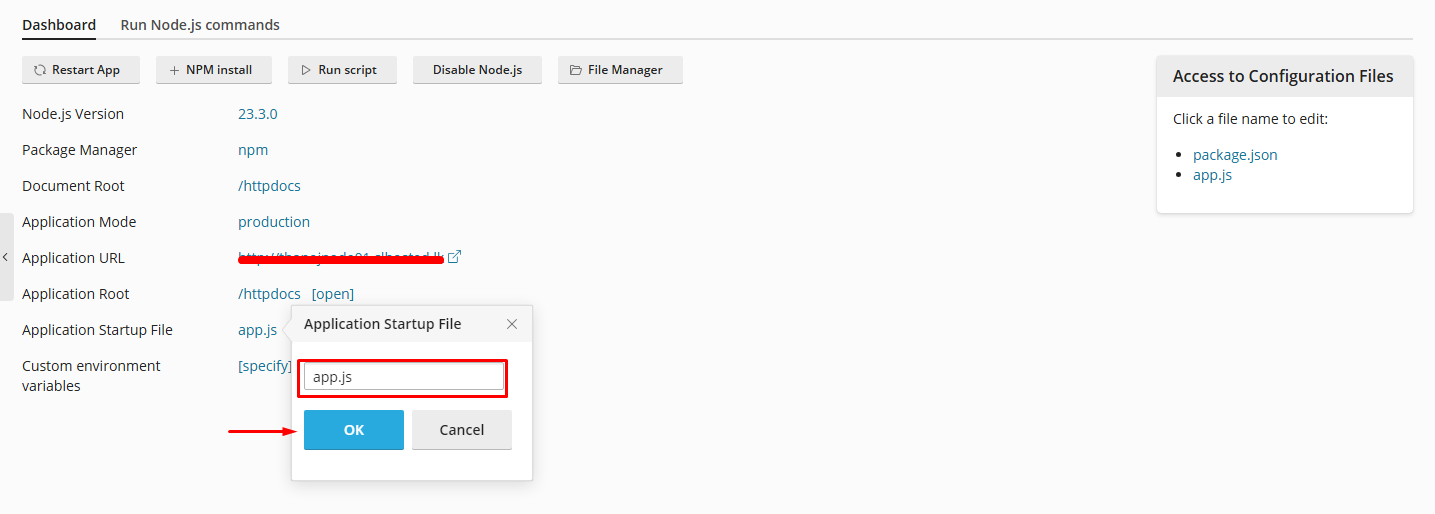
- Add any necessary environment variables in the Environment Variables section.
Step 8: Start the Application
- Go back to the Node.js settings.
- Click Run script to run your application.
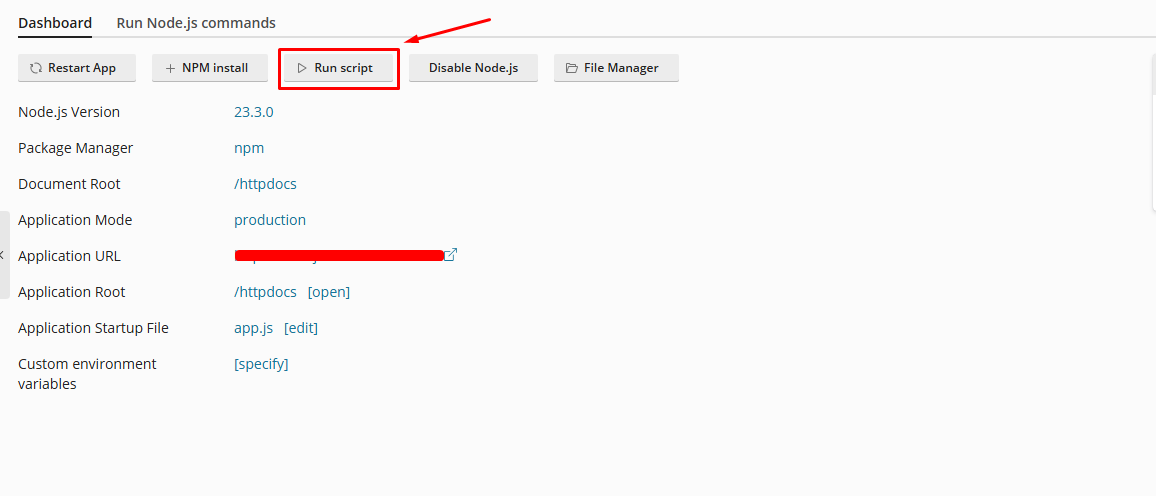
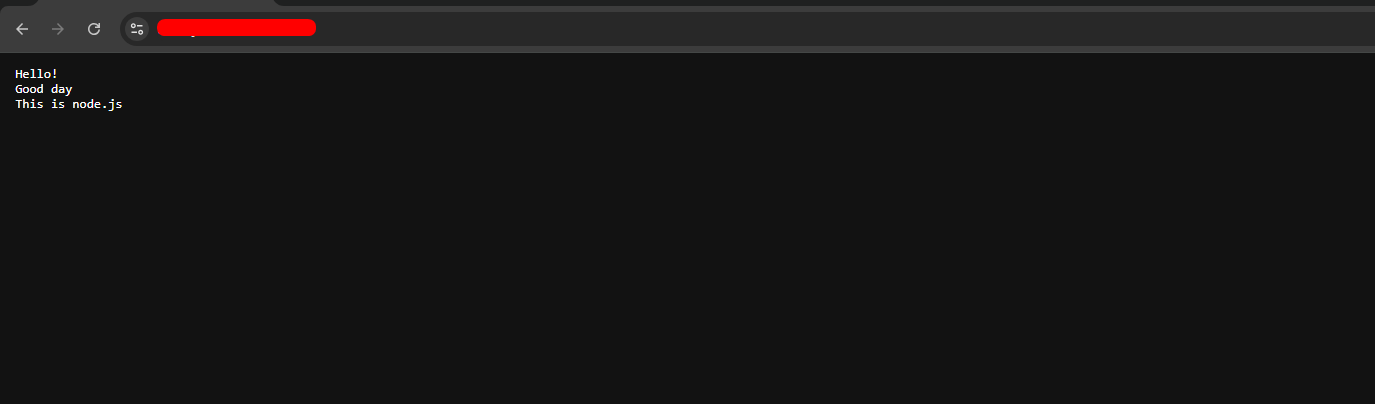
- Visit your domain or subdomain in a browser to check if the application is working correctly.
Troubleshooting Tips
- If your application doesn’t start, check the logs in the Node.js section for errors.
- Double-check that all dependencies are installed by ensuring the NPM process completed successfully.
- Verify the startup file and environment variables are set correctly.
Conclusion
- Congratulations! You have successfully deployed your Node.js application on a Plesk server.


