
The Add Funds section allows you to preload your account with funds to cover future invoices and avoid small, frequent transactions. Here’s how to navigate and use this feature effectively:
Step 1: Log in to Your Client Area
- Open your web browser and go to the Sri Lanka Hosting Client Area.
- Enter your login credentials and click Login.
Step 2: Access the Add Funds Section
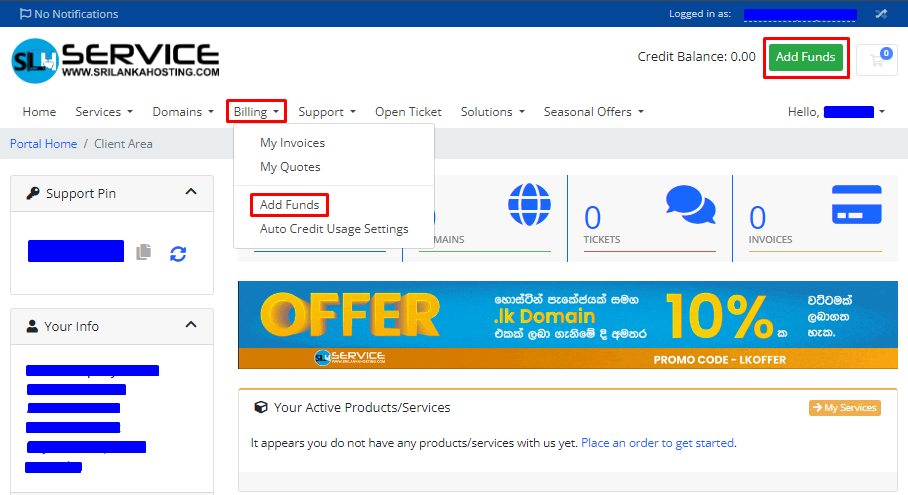
- Once logged in, go to the Billing section in the main menu.
- Click on Add Funds to access the deposit options.
Step 3: Understanding the Add Funds Feature
- Purpose: The Add Funds feature allows you to add money to your account balance. This can be useful for automatically covering future invoices without the need for repeated transactions.
- Active Order Requirement: You must have at least one active order with the provider before you can add funds to your account. If you don’t have an active order, you will not be able to proceed.
Step 4: Set Your Deposit Amount
- Minimum Deposit: The minimum amount you can deposit is Rs. 388.00.
- Maximum Deposit: The maximum amount you can deposit in one transaction is Rs. 58,200.00.
- Maximum Balance: The total balance in your account cannot exceed Rs. 582,000.00.
- Enter the amount you wish to add within the given limits.
Step 5: Select Your Payment Method
- Choose a payment method from the available options, such as Visa, MasterCard, or Online/Offline Bank Transfer
- Once you’ve selected a payment method, follow the prompts to complete the transaction.
Step 6: Important Notes
- Non-Refundable Deposits: All deposits made to your account are non-refundable. Ensure you are adding the correct amount.
- After successfully adding funds, the balance in your account will automatically be used to pay any new invoices generated in the future.
Adding funds to your account in advance ensures that your payments are managed smoothly and automatically. Regularly check your balance to ensure you have enough funds to cover upcoming payments.
